Kia Picanto: If you have a flat tyre (with tyre mobility kit): (if equipped) / Using the TMK. Distributing the sealant
Using the TMK
-
Remove the speed restriction label from the sealant bottle and place it somewhere clearly visible inside the Kia Picanto, such as on the steering wheel. The label reminds you to observe the speed limit while using the temporary repair.
Follow the steps below carefully when preparing and using the kit.
-
Shake the sealant bottle thoroughly before use.
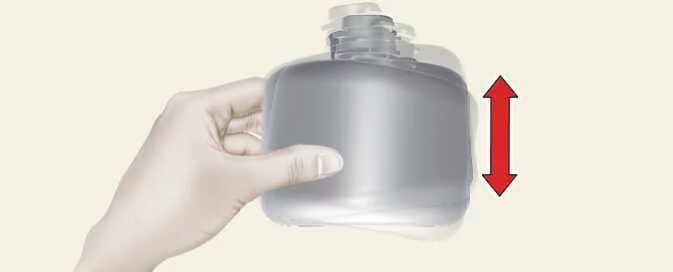
-
Remove the cap from the sealant bottle.

-
Turn the sealant bottle to attach it to the compressor.
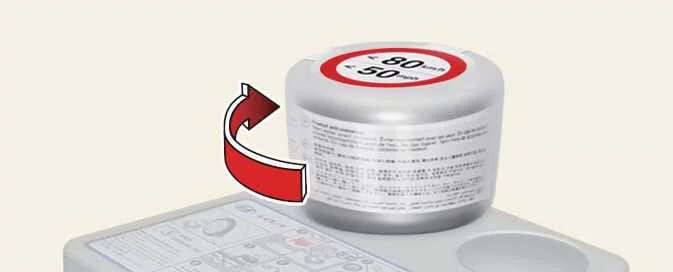
-
Check that the valve on the compressor is locked in place.
-
Unscrew the valve cap from the damaged tyre, then screw the sealant bottle’s filling hose (3) onto the tyre valve.
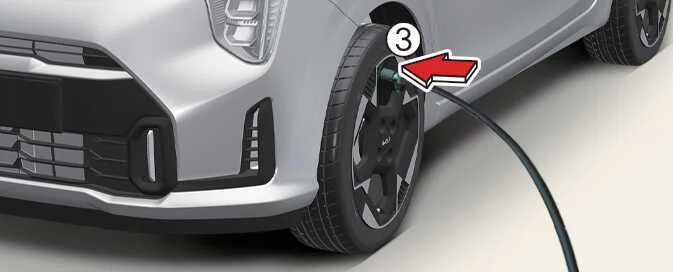
-
Make sure the compressor is switched off and set to position 0.
CAUTION
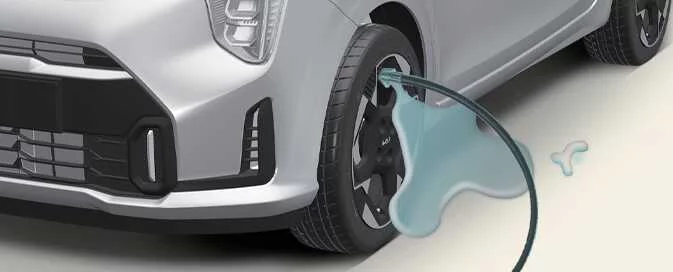
Attach the sealant filling hose securely to the tyre valve. If the connection is loose, sealant may flow back and clog the hose.
-
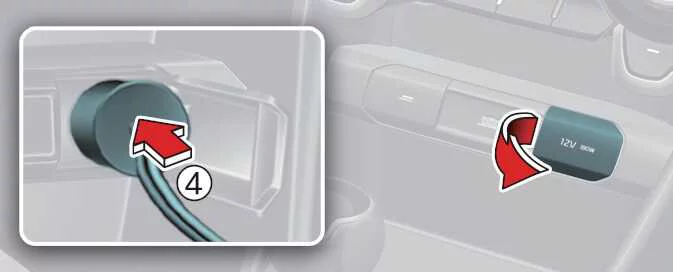
Use the cable and connectors (4) to connect the compressor to the vehicle’s power outlet.
-
Set the ENGINE START/STOP button or ignition switch to ON. Switch on the compressor and let it run for approximately 5–7 minutes to inject the sealant and bring the tyre to the proper pressure. The pressure reached during this step is not important; it will be checked and adjusted later.
Take care not to overinflate the tyre, and stand clear of it while it is being filled.
For your safety, do not use the Tyre Mobility Kit if the tyre or wheel is damaged.
CAUTION
Tyre pressure
Do not drive the vehicle if the tyre pressure is below 200 kPa (29 psi). Driving with pressure below this level may cause sudden tyre failure and an accident.
-
Switch off the compressor.
-
Disconnect the hoses from the sealant bottle connector and the tyre valve.
Return the Tyre Mobility Kit to its designated storage location in the Kia Picanto.
WARNING
Carbon monoxide
Carbon monoxide poisoning or suffocation may occur if the engine is left running in a poorly ventilated or enclosed area, such as inside a building.
Distributing the sealant
-
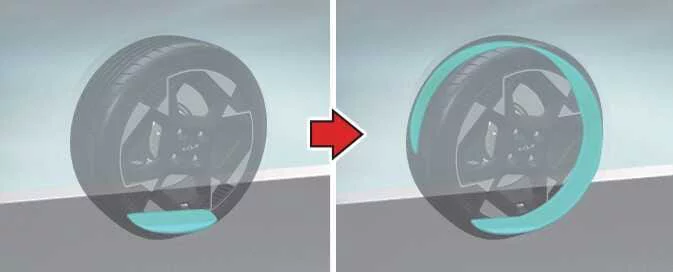
Drive immediately for approximately 7–10 km (4–6 miles), or about 10 minutes, to spread the sealant evenly throughout the tyre.
 |
CAUTION
Do not drive faster than 60 km/h (35 mph). If traffic and road conditions allow, maintain a speed of at least 20 km/h (12 mph).
If you notice unusual vibration, a change in the ride or unexpected noise while driving, slow down and continue cautiously until you can pull over safely. Call roadside assistance or arrange for the vehicle to be towed.
Sealant may stain the tyre pressure sensors and wheel when the Tyre Mobility Kit is used. Have the sealant removed from the affected sensors and wheel, and have the Kia Picanto inspected by a professional workshop. Kia recommends visiting an authorised Kia dealer or service partner.
 Introduction. Components of the Tyre Mobility Kit (TMK)
Introduction
The Tyre Mobility Kit (TMK) helps keep your Kia Picanto mobile after a tyre puncture by temporarily sealing the tyre.
..
 Checking the tyre inflation pressure. Notes on the safe use of the Tyre Mobility Kit
Checking the tyre inflation pressure
After driving approximately 7–10 km (4–6 miles), or about 10 minutes, stop in a suitable, safe location...
Other information:
Ford Explorer 2020-2026 Service Manual: Removal and Installation - Front Stabilizer Bar
Removal NOTICE: Suspension fasteners are critical parts that affect the performance of vital components and systems. Failure of these fasteners may result in major service expense. Use the same or equivalent parts if replacement is necessary. Do not use a replacement part of lesser quality or substitute design...
Ford Explorer 2020-2026 Owners Manual: Auto Hold
WARNING: The system does not replace the parking brake. When you leave your vehicle, always apply the parking brake. WARNING: You must remain in your vehicle when the system turns on. At all times, you are responsible for controlling your vehicle, supervising the system and intervening, if required...
Categories
- Manuals Home
- 6th Generation Explorer Owners Manual
- 6th Generation Explorer Service Manual
- General Service Information
- Body and Paint
- Description and Operation - Identification Codes
- New on site
- Most important about car
Fastening the Seatbelts
The front outboard and rear safety restraints in the vehicle are combination lap and shoulder belts.